Host Bot 24/7
You have the Option to host your Bot on your own Home Server, on a Monthly Payed Rootserver/VPS or a special Bot Hosting.
Here, we will go through all these ways!
Host on Rootserver/VPS with Root Access (LINUX)
-
Log into your Rootserver/VPS using a Root Account, then start by Installing Node.JS (If not installed already).
-
Create a new Folder for your Bot and navigate into it. It's recommend that you use a Folder like
/homefor your Bot -
Upload your Bot Files into the Folder you just created.
- Use a (S)FTP Client of your choice to upload the Files, for example WinSCP or FileZilla work great.
- Create a New Connection with the IP/Domain of your Server, Username(root) and Password.
- Navigate to the Folder you just created and Drag-and-Drop the Files into it.
Here is a list of things you need to Upload, leave everything else away. NOTE: Upload the Full Blocks Folder!
-
Run the Bot using the following Command:
This will start the Bot and you should see the Bot Online in your Discord Server. -
Optional, to run the Bot 24/7, using Screen
This will start the Bot in a Screen Session, to detach from the Screen useCTRL+Aand thenCTRL+D. To reattach usescreen -x BotName.
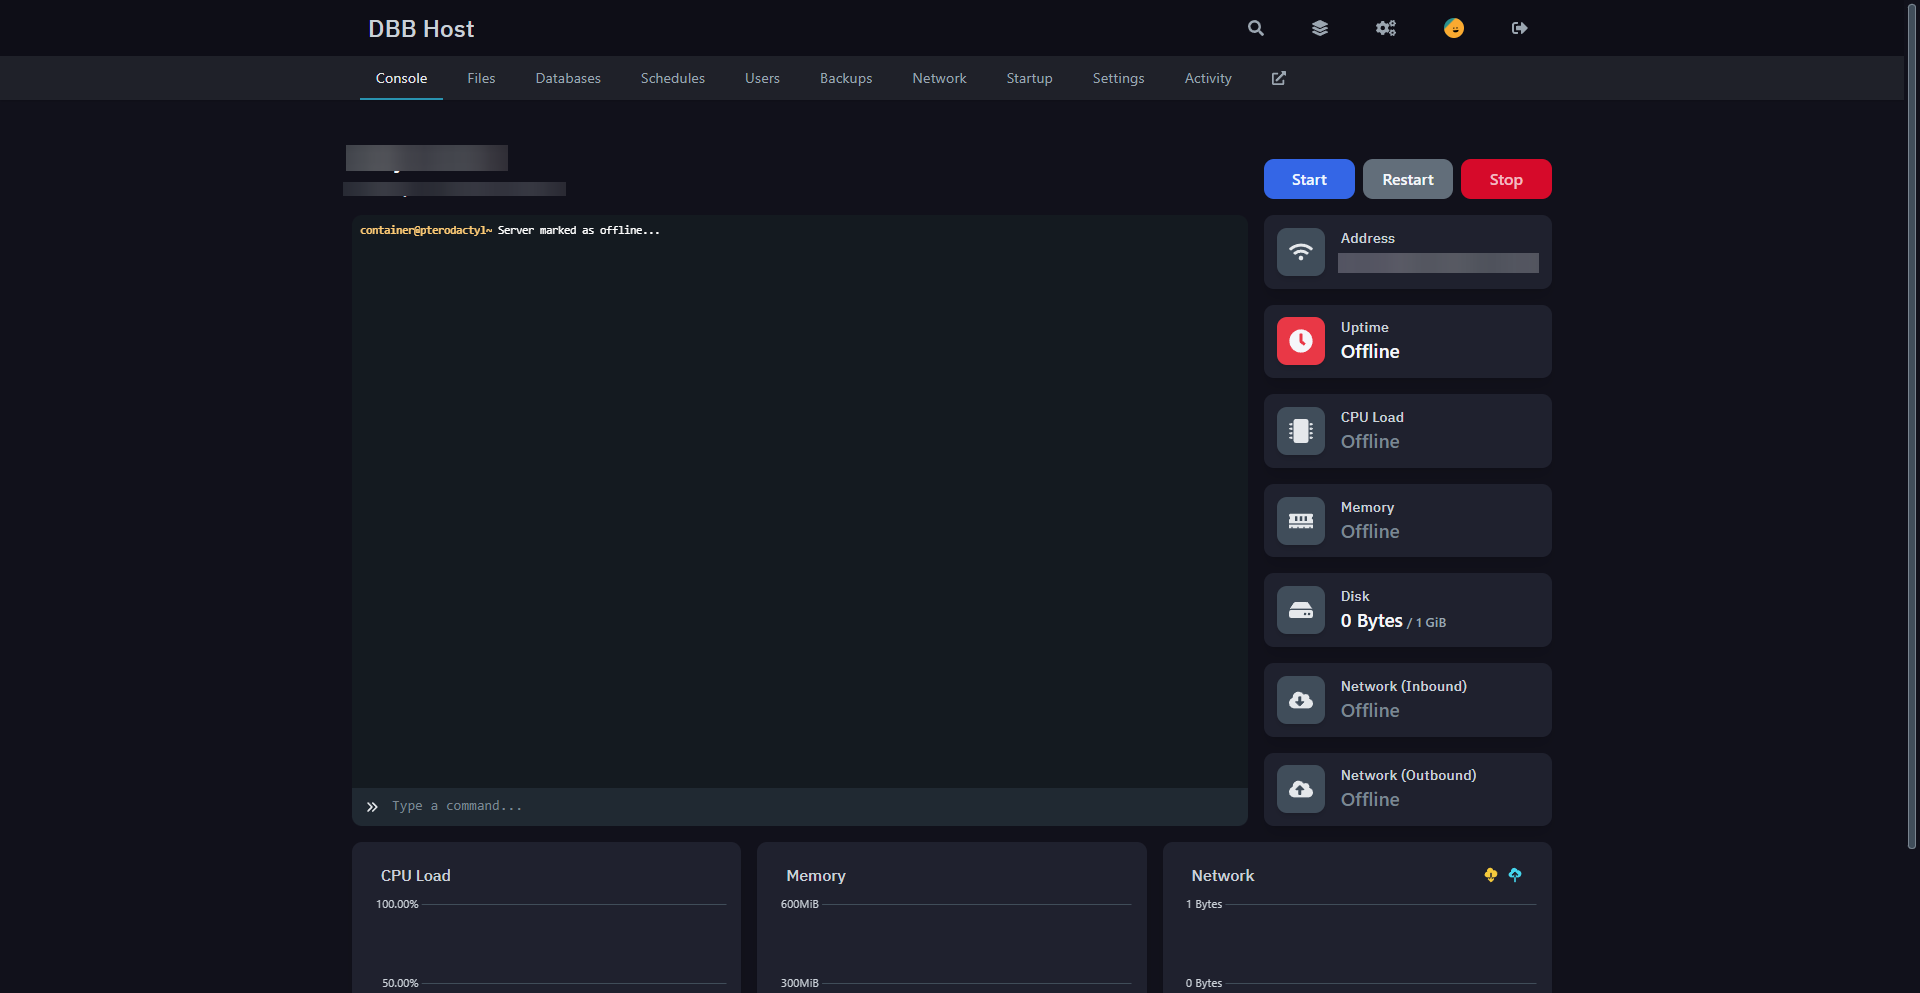
Host on a Bot Hosting Service (Pterodactyl)
You should find your Server on the Dashboard looking like this:
- Now you have two Options on how to Upload your Files:
ZIP-File Way
Note: Supports.rar&.tar.gz
- Create a Zip File including the files of your Project.
- Upload the File to the Server in the "Files" Tab of the Panel Dashboard Website├── blocks/ │ ├── block1.js │ ├── block2.js │ └── etc... ├── data/ │ ├── data.json │ ├── INTENTS.txt │ ├── token.txt │ └── workspaces.json ├── bot.js └── package.json
- Next to the ZIP File click the 3 Points, and there press "Unarchive"
- Delete the ZIP once finished (OPTIONAL)SFTP Way
Note: Requires WinSCP to be Installed
- On Your Server, go to "Settings"
- There click on "Launch SFTP"
- Then a Window Pops-Up asking you for a password, enter your Dashboard Account Password and click "OK"
- Once connected, Upload your Bot Files to the "/" Directory of the Server.